 Since my last Zelli Bar update, we have prepped and held a couple of courses in the shop so, I understand if you were under the impression that work on the bar had slowed or, worse, halted. No need to fear though, progress has continued on the finest beverage making, pouring, and serving surface structure around these parts.
After days of detailed work to perfect the live edge walnut top of the bar, the three parts that compose it were cut to size, fit together, and sanded. The last photos I showed of the masterpiece that is this bar top looked something like the one to the left. The difference though is that this bar top is ready to be finished! The three parts are detached and laid out to be sprayed down with a Waterlox tung oil finish (Gym Finish/gloss).
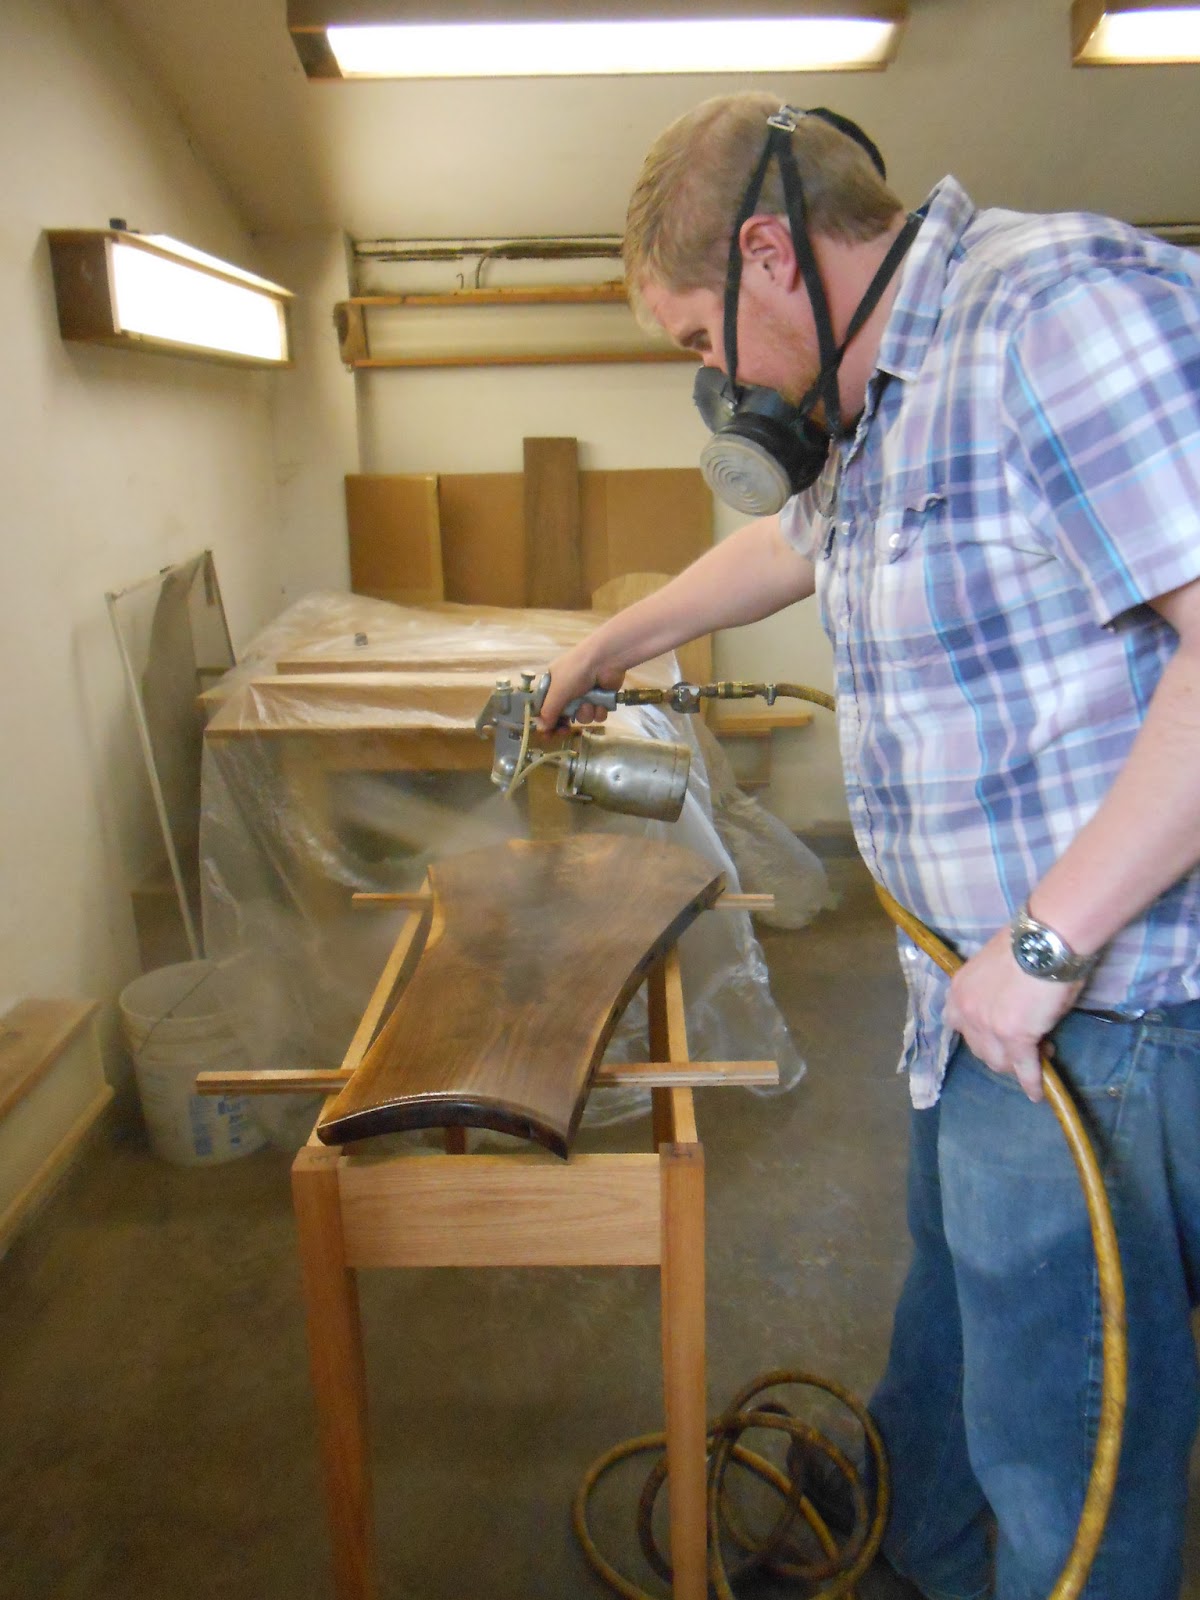 As we did with the brown oak wall installation, we used the pressure gun to evenly and cleanly spray the finish onto each piece; and, by "we" I mean Rob in this instance.
The gun sprays an evenly pressed fan of the finish onto the flat surfaces nicely. Beyond that, the gun allows for the finish to be applied to every nook, cranny, and crevasse. Because the piece is live edge, the natural form of the slab has been virtually unchanged so there are small curves, knots, and voids that we need to make sure get covered in finish.
As of this moment, the top has received two coats of the Waterlox finish. In between the coats, I took to the surfaces with 220 grit sandpaper and then some steel wool. This smooths and evens out the layer of finish before the next coat. From what I hear via the grapevine, there will be three coats total for this top portion(s) of the bar.

Even with the reflection of light from the finish in the photo to the right, you can still see how the once dull-ish, flat browns found in rough walnut are completely brought to life.

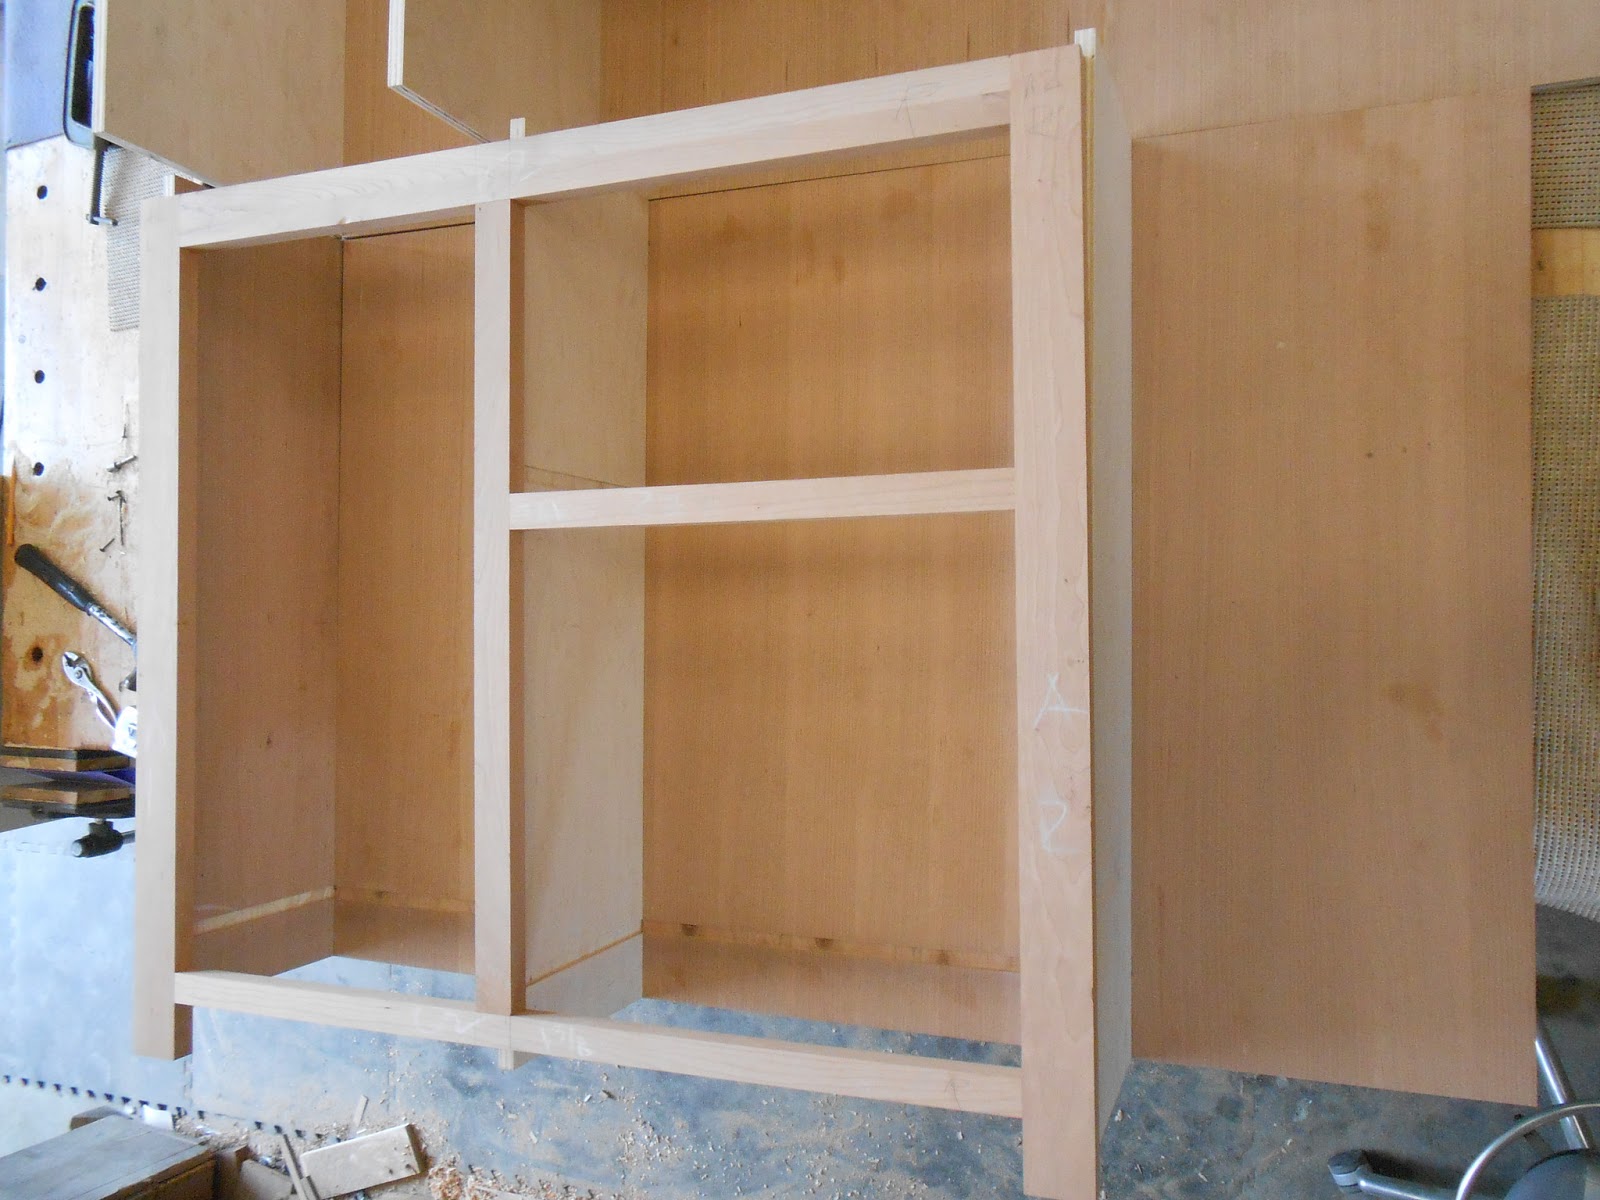
Included in the inner workings of the bar will be a sink, space for a beer/keg cooler, space for a trashcan, and shelving for glasses and mugs. As you can see, the carcass of the base has been constructed over the past couple of days.
Things are coming together and I am more than eager to see the finished product. There is much work to be done yet but, this project is especially fascinating for me to watch and assist with because of it's (necessary) thorough planning and intricate design/construction. I look forward to the coming days/weeks as I get the chance to watch this massively beautiful piece come together bit by bit.
No comments:
Post a Comment