
As the fall descends upon us in Pennsylvania, we are hard at work making, what were recently, merely slabs into a beautiful coffee table, ideal for many a wine glass to rest upon. But, before I elaborate, I will take a moment to admire mother nature's work. Linda, the lady of the Lohr domain, took a trip to Washington and brought back with her a leaf from a Bigleaf Maple. As someone who is relatively new to the woodworking field, I harbor little-to-no knowledge of trees so this leaf really brought to light how massive the tree that produced these slabs likely was. A leaf as big as your head! Nature is something to be truly appreciated. I'm glad to know that this coffee table will embody the life of it's Bigleaf Maple and allow it to be admired indefinitely.
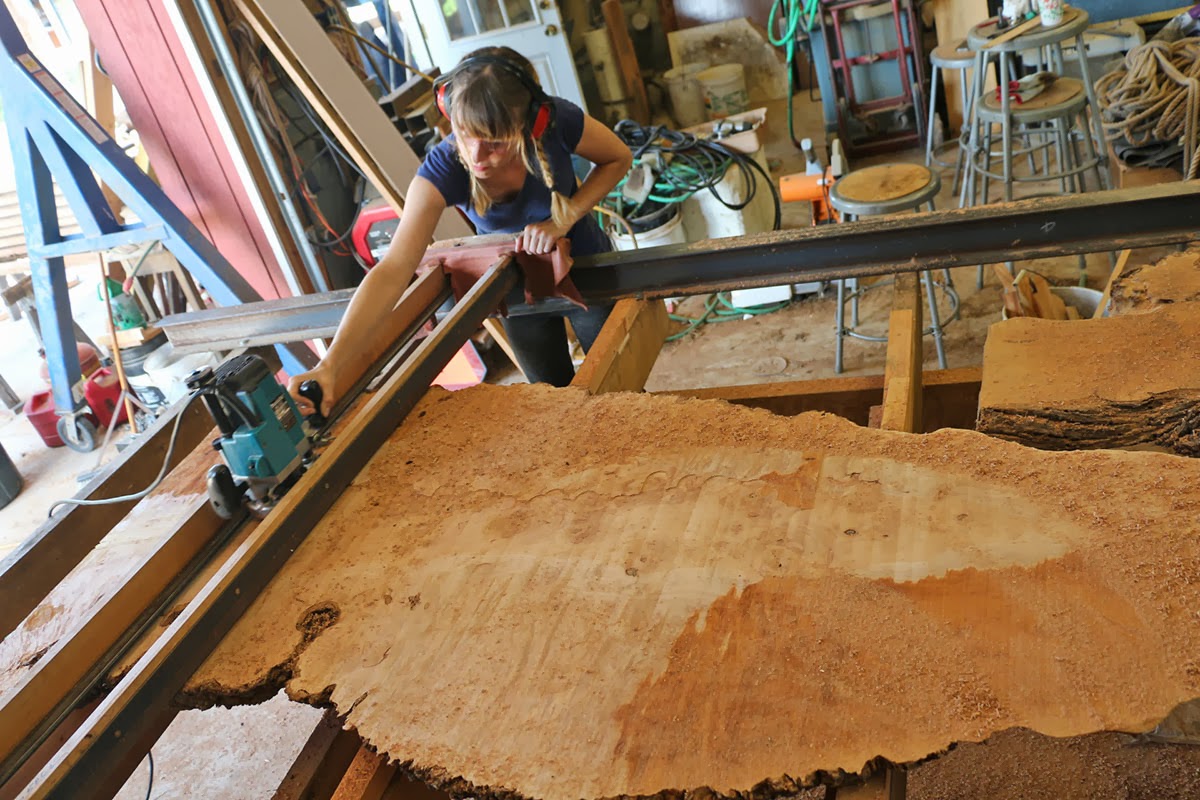
Planing: The process began with a giant router sled. For slabs as massive as these, we can't exactly rely on our 8" jointer or 24" planer to help us flatten the faces. For that, we have a Lohr-built router sled (which is about the side of a car). We use a bottom cleaning bit in the router and take several passes, removing thin layers until the entire face is smooth. From there, we have a working face to rest on to duplicate the process on the opposite side ensuring two flat, parallel sides.

In order to ensure that the curve we cut from the ends of the slabs would join seamlessly, we planned to use template and router with a pattern cutting bit. We first cut the curve into a piece of melamine and shaped it as perfectly as possible. Because the bit will ride along the template, it will replicate the exact shape of the curve in the template and, unfortunately, that means it will duplicate any extraneous bumps or hollows as well. As you can see to the left, we test the fit by holding the seam up to the light to see any gaps or discrepancies so that we can tune them out before we make the cut to the slabs.

As you can see, it was delicate and carefully executed process but the end result was 5 floating tenons and a perfect-fit curved joint. We used West System two-part epoxy to hold the tenons in place and ensure the most secure of joints.

The first stage of bark removal is to break out all the gouging chisels we can find. Being careful to avoid gouging the wood in the process, we chip away at the bark exposing the natural edge of the slabs. In most cases, the bark breaks away from the wood with ease and gets saved for knot and hole patching. The process is tedious but it provides an unbeatable result. But, the chiseling doesn't do the entire job. There will always be tiny bits that won't break from the edge and for those pieces we take to the sandblaster!

Progress on the Vina Vik live edge, maple coffee table will continue this week and next. Look for another update soon all about creating, cutting, and setting bones along the curved joint!
Their plans are going to be well thought out, each for safety, and for performance. this can be not the place to save lots of your cash. select your plans rigorously to provide yourself the best router table attainable.
ReplyDeleteYou completed a few fine points there. I did a search on the subject and found nearly all persons will go along with with your blog. CutTheWood.com
ReplyDeleteSuper-Duper site! I am Loving it!! Will come back again, Im taking your feed also, Thanks. Best cordless power tool set
ReplyDeleteGreat article Lot's of information to Read...Great Man Keep Posting and update to People..Thanks tv stands
ReplyDelete