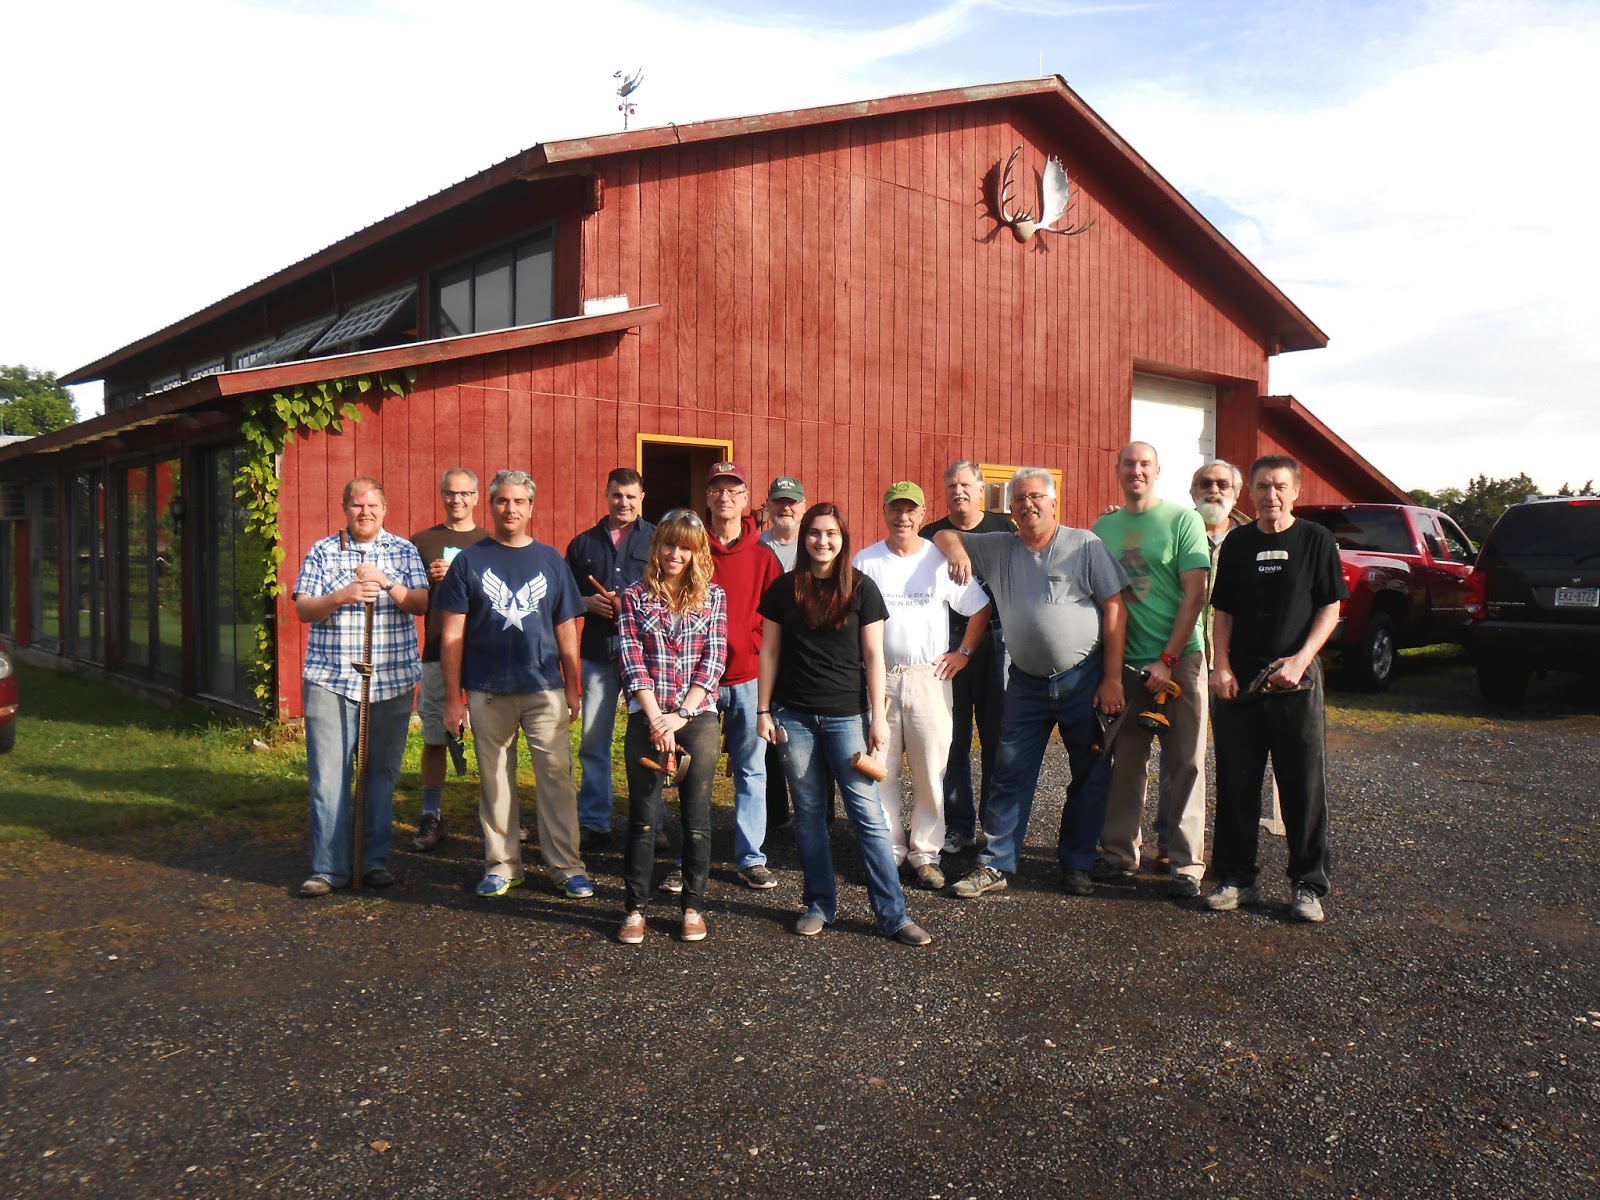
As my previous entry states, last week we had the pleasure of hosting eleven wonderful students for another Practical Woodworking class. We are proud and grateful to all of them for being such great overall humans during the course. Congratulations to our most recent Lohr School of Woodworking graduates and you should all be proud of all that you learned and created this past week!
Now, what the "grind" entails is quickly approaching the completion of the Zelli Bar!
Here, we see Rob making his sternest bartender face as we carried out the final fitting of the bar faces' live edge detail. Each live edge piece of walnut was resawn and cut/sanded/fine-tuned to fit perfectly with the others to create a seamless frame. The live pieces that meet at the corner are formed from a bookmatch so they are essentially mirrored around that angle. The rest were chosen based on their natural shapes and colors.
After the pieces were confirmed to be fitted together properly, it was time to glue up! Face gluing requires an abundance of evenly distributed pressure to ensure that all pieces are attached completely and as flat as possible. As you can see, our evenly-distributed, abundant pressure was tackled with a variety of clamps... and a whole lot of them!
 The long pieces of wood stretching across the length of the bar were elevated in the middle (via wedges) to make sure that there was even and heavy pressure pushing onto the live edge framing around the outer edges of the bar face. Using F-clamps, C-clamps, and bar clamps we made sure that every inch of the live edge board faces were held tight against the bar face while the glue dried.
Holding the title of smallest and most agile in the shop, it's my duty to crawl into any small and awkward spaces necessary to get the job done. I've learned to hold this title with honor as it has been part of my role in countless situations since I was young.
Thus, when it was glue clean-up time, equipped with a flashlight and a toothbrush, I crawled beneath the bench and carefully removed any squeeze-out. Because we are dealing with cherry veneer on this project, it is important to be scarce with water usage to avoid any chance of mold growth.
After the glue was left to dry for 24 hours, we unclamped and jumped right into finishing. As per usual, we used boiled linseed oil to bring out the natural colors and grain patterns in this piece. From the photo, you can see that there is a radical difference between the oiled walnut and cherry portions. Granted, a photograph doesn't do it justice but, these woods are beautiful when their colors are deepened and accented. Better yet, as the cherry ages, deepens, and reddens with time, the pairing of the dark walnut and the deep reds will be even more stunning than they already are!
The oiled bar sat untouched for the week during class thus allowing it the perfect amount of time necessary for the oil to dry.
Starting today and continuing over the course of the week, we will be spraying and brushing on layers of clear lacquer finish. With all the small additions and details done both inside and out, this bar is quickly approaching it's finish line. I am more than excited to see and share the completed project!


No comments:
Post a Comment