Wednesday, June 19, 2013

The Zelli Bar Finds It's Way Home

Greeting again from Lohr Woodworking!

'Enough is enough, woodworking apprentice, we are constantly reading about this Zelli Bar and all the progress being done but, when will it really be done?' Don't worry, folks, it's finished!

As readers, you have seen this project from the beginning stages (when I first learned to draw to scale) all the way through the finishing processes and the day has finally arrived that it has been assembled, photographed, packed up, and delivered to it's home.


Because this was my first time being part of a commissioned furniture project from start to finish here at the shop, it was also the first time I've taken part in a pieces' formal documentation. New pieces get photographed and added to the Lohr Woodworking portfolio. I was more than excited to be a part of this process as much as I was about every process along the way. Set up in the back/lumber room, we hung up a slew of flood lighting and all the tripods we had laying around to created a photo shoot.


The men put on their cleanest and most proper apparel while I did my best to capture their prideful faces. Complete with a bottle of J. Lohr wine, they stuck with me while I took what seemed like a hundreds of photos. Thanks in large part to a DSLR tutoring session from Eoin, the end result was what you see here.

The bar can be, and was, broken up into five main pieces for move-ability. The long portions of the base separate into two parts and are joined together from the inside via a couple of custom board connector pieces (full disclosure: the last portion of that sentence is apprentice-invented terminology) as well as some additional spax screws. The top is broken up into three pieces and held together with custom splines and tite joint fasteners. All in all, for such a massive, heavy piece, it is relatively easy to break apart and move around when necessary.

As I've mentioned, the top of the bar is live edge, locally grown, black walnut. Jeff can tell you where his live edge pieces come from (usually in PA), right down to the lot number where it grew. The base is primarily cherry with resawn live edge walnut along the faces. Inside, you see a sink, adjustable shelving, a towel rack, sliding doors beneath the sink, and space for a trashcan. It was treated with boiled linseed oil and finished with Waterlox Gym Finish and lacquer. The gym finish is a strong, clear gloss finish that will withstand the frosty beverages that will grace the bar's surface.

The piece was completely custom made for the Zelli family home and, after much planning, we were happy to see it find it's perfect place there.

After a full morning of assembly and delicious breakfast treats, we were even happier to celebrate the newest addition's successful installation. The bartender at this bar is a lucky guy or gal for more reasons than one. We're happy to have designed, constructed, and delivered such a great anniversary gift. Cheers to your new bar and many more years of happiness for you and your family, Zelli's!

Friday, June 14, 2013

SawStop Saga

Because we are a woodworking school and we want nothing more to keep our students safe from any injuries as they learn the craft so, we are equipped with two SawStop cabinet table saws. Being a company who prides themselves in being "the world's leading maker of safe 10-inch table saws," our students, ourselves, and our insurers feel better having them around. And, better yet, we haven't encountered any incidents that disprove their claim to ensured safety [knocks on wood].

In really rough, basic, apprentice terms, the way the saw works is based around a system that monitors an electrical signal that is carried through the blade. If the system detects most any material that isn't wood, it throws a break cartridge into the blade to stop it and then pulls the blade below the table within milliseconds. It's pretty incredible if you watch the safety video.

From our experiences, the added safety is wonderful but, as with all technologies, there are times when they malfunction. On a few different occasions, we have experienced misfires when the cartridge is thrown into the blade thus ruining both parts even though there was no foreign material to trigger the reaction. One of these occasions happened during our class last week. And thus began the saga.

In this particular instance, it was a partial misfire so the cartridge was lodged into the blade and both were still locked into their place inside the saw. So, out came the crowbar amongst other tools to try and slide these things out of the saw whilst still being attached to each other. Although this was not the easiest of tasks, Jeff managed to wiggle the two pieces out and replace them (luckily we have spares for both) so the class could continue with enough usable table saws.

We sent SawStop the used cartridge and they were able to confirm it was a misfire and not a finger-saving attempt.

They were kind enough to overnight us new cartridges and blades to replace those that were ruined. With it, they send us a new cartridge cable replacement kit to wire through the machine in hopes to avoid any future misfires. And, yet again, my compact size was called into play. For most of the afternoon, I was climbing under, in, on, and around the table saw to place the new chip.

As you can see, I removed the switch box side cover and replaced the old D-sub connector with the new one. Then, I ran the cable through the
machine undoing and redoing the clamps that hold it in place throughout the inside of the cabinet. The best part about this task is that it's nearly impossible to see each of the small clamps so, I had to rely on my sense of touch to locate, unscrew, place, and rescrew the cable into the clamps.

From there, the cartridge connector needed to be placed into it's bracket. The bracket is found in a vertical plate below the saw blade where the cartridge lives when it's being used. Even with my child-sized hands, it took some incredible effort to use the Allen wrench to turn the screw whilst holding the lock nut behind. It was a Lohr Woodworking staff group effort to reach both sides of that plate. Tilting the saw back and forth, relying heavily on flashlights, and crawling under, on, and around the saw finally did the trick.

The final step was to use three tiny screws to put the circuit board into place. The afternoon ordeal came to a close when I pulled out the old cartridge cable, reassembled the splitter knife holder, put a new cartridge and blade in, and flipped the "on" switch. A sigh of relief came when the little green light illuminated but, the real test was turning the sucker on and hoping the brand new cartridge didn't fire because of a circuit chip disconnect that I had missed.


The moment of truth came and went as the blade spun perfectly. I am a long way from being a woodworking master but, I'll admit to a self-administered pat on the back for figuring out this high-tech machine. My relationship with the table saws just got a bit more intimate as I now (sort of) understand their inner workings. Thanks to SawStop for saving fingers and limbs on a daily basis but, moreso for giving me a really intricate and mechanical project to expand my brain this week.


Tuesday, June 11, 2013

Back to Building

On this beautiful Tuesday, we return to the shop and back to the grind.

As my previous entry states, last week we had the pleasure of hosting eleven wonderful students for another Practical Woodworking class. We are proud and grateful to all of them for being such great overall humans during the course. Congratulations to our most recent Lohr School of Woodworking graduates and you should all be proud of all that you learned and created this past week!

Now, what the "grind" entails is quickly approaching the completion of the Zelli Bar!

Here, we see Rob making his sternest bartender face as we carried out the final fitting of the bar faces' live edge detail. Each live edge piece of walnut was resawn and cut/sanded/fine-tuned to fit perfectly with the others to create a seamless frame. The live pieces that meet at the corner are formed from a bookmatch so they are essentially mirrored around that angle. The rest were chosen based on their natural shapes and colors.
After the pieces were confirmed to be fitted together properly, it was time to glue up! Face gluing requires an abundance of evenly distributed pressure to ensure that all pieces are attached completely and as flat as possible. As you can see, our evenly-distributed, abundant pressure was tackled with a variety of clamps... and a whole lot of them!

The long pieces of wood stretching across the length of the bar were elevated in the middle (via wedges) to make sure that there was even and heavy pressure pushing onto the live edge framing around the outer edges of the bar face. Using F-clamps, C-clamps, and bar clamps we made sure that every inch of the live edge board faces were held tight against the bar face while the glue dried.

Holding the title of smallest and most agile in the shop, it's my duty to crawl into any small and awkward spaces necessary to get the job done. I've learned to hold this title with honor as it has been part of my role in countless situations since I was young.

Thus, when it was glue clean-up time, equipped with a flashlight and a toothbrush, I crawled beneath the bench and carefully removed any squeeze-out. Because we are dealing with cherry veneer on this project, it is important to be scarce with water usage to avoid any chance of mold growth.

After the glue was left to dry for 24 hours, we unclamped and jumped right into finishing. As per usual, we used boiled linseed oil to bring out the natural colors and grain patterns in this piece. From the photo, you can see that there is a radical difference between the oiled walnut and cherry portions. Granted, a photograph doesn't do it justice but, these woods are beautiful when their colors are deepened and accented. Better yet, as the cherry ages, deepens, and reddens with time, the pairing of the dark walnut and the deep reds will be even more stunning than they already are!

The oiled bar sat untouched for the week during class thus allowing it the perfect amount of time necessary for the oil to dry.

Starting today and continuing over the course of the week, we will be spraying and brushing on layers of clear lacquer finish. With all the small additions and details done both inside and out, this bar is quickly approaching it's finish line. I am more than excited to see and share the completed project!

Friday, June 7, 2013

Practical Woods: June 2013 Edition

The Lohr School of Woodworking is happy to welcome and work with another new crew of aspiring woodworkers!


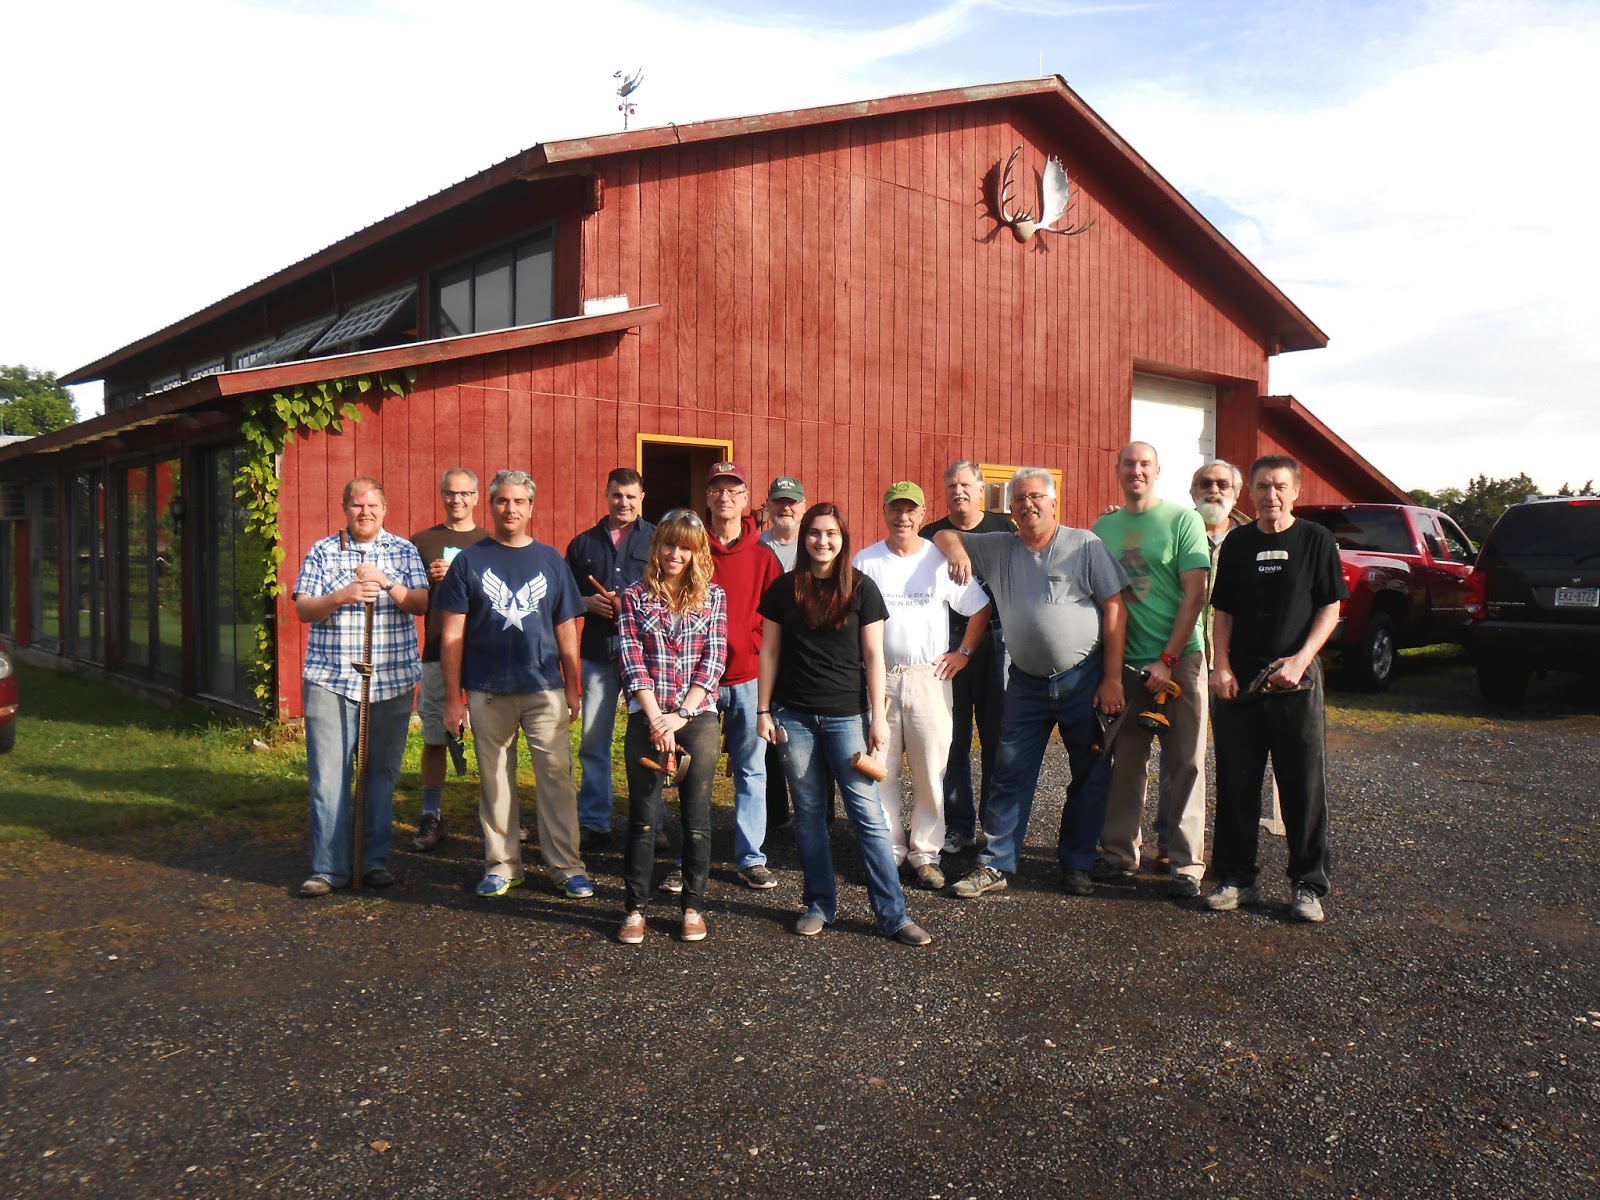
Safe from the erratic spring weather patterns happening outside, we've been working away the week in the shop with eleven new Practical Woodworking students. The Mikes, the Steves, John, Fred, Jono, Lesley, Pat, Bill, and Jim have been a wonderful addition to our shop this week as they have learned about everything from tree growth and wood drying, to milling rough boards to squared perfection!

As per usual, we have a collection of students with a wide range of prior woodworking experience and knowledge. And, even better, this group comes equipped with bright and hilarious personalities! As a new teacher here at the shop, I love to see how students of every level are excited and eager to learn the "right way" to do things in order to have the best results quickly (while making sure to keep all their fingers and limbs).


One of the best and most interesting parts of the course are all the Lohr-original jigs! After so many years in the trade, Jeff has come up with the easiest, safest, and most logically constructed jigs to make most processes fool proof and comfortable. A jig for cutting mortises in table legs, a jig for cutting perfectly tapered legs, a jig for leveling surfaces of bigger-than-the-planer boards, a jig for this and a jig for that. He keeps all of the stages of each jigs' progression so students can see where his logic started and how it developed into these hand-crafted, time-saving assistants. Best of all, like all other information and processes presented in the class, Jeff tells students in great detail how they can copy these things when they return to their home shops.


As I continue to ease my way into woodworking instruction, I am quickly learning how different (and just slightly the same) teaching math to eighth graders is from teaching adult woodworkers. The first major difference is that these students want to be here. In fact, they seem to love being here as much as we do; something I can't say so much about most 14-year-olds being forced to learn math.


I look forward to the next couple of days as the Mikes, the Steves, John, Fred, Jono, Lesley, Pat, Bill, and Jim see their tables come together and sigh with relief when they can go home and digest all the information that has been thrown their way this week. Now, onto Day 5 (sanding day) of Practical Woodworking!