Saturday wrapped up our December Practical Woodworking course. I was sad to see my 10 fellow classmates depart back to their corners of the world but, I was so impressed to look around the room at the end of the afternoon and see the nearly completed, beautiful tables and smiles to match! I can assume that my classmates can agree that the week was not only incredibly informative, but also a unique and overwhelmingly enjoyable experience. I am so excited to know that within the coming months, I will be playing an active role in the teaching of this course! I am also crawling out of my skin in anticipation of using the knowledge I have begun to acquire about this craft to create and help build so many pieces!
 As I closed my last entry, I mentioned that, even after an afternoon filled with it, I had to jump back into sanding on Saturday morning. There are so many surfaces to be sanded and so many edges to be broken for this table. Between four legs, four skirt boards, and the table top itself, I thought the sanding would never end. Each surface had to be sanded down with 80-grit paper, followed by 120-grit, then 180, and finally 220. As you can probably tell by the photograph, I am basically a pro with a sanding machine now.
 When the sanding was done, our next mission was to glue our bases together! During the lesson on how to properly glue the base of the table together, Rob mentioned that this was the part that some people would find themselves freaking out over because it's one of the final steps. Naturally, I had already known that freaking out was in my near future because I had spent so many hours working so hard on my first wooden creation that I was bound to mess it up during the final stages. Luckily, the environment in the shop makes it easy to ignore my nervous subconscious trying to butt in and focus on how excited we all were. First, we dry clamped the table base together. Table gluing is a partner activity since it has to be done so quickly (10 minutes before the glue starts to dry) and everything has to fit so tightly. Here, Steve and I are working on gluing my table base together. The dry clamp showed that I had no major issues and everything fit flush up against one another so we moved on to the glue. Using small paint brushes, we put glue in the long sides of the mortises and on the sides of the tenons so they would hold together tightly. Keeping in mind that we didn't want glue seeping out of those crevasses, we had to be sure to use the right amount and wipe away any excess glue with toothbrushes. Once the glue was in place, we put all the pieces together and clamped it up. Six clamps were used for each table to make sure that the pressure being distributed on the mortise/tenon joint was even. We then set the tables aside to dry for at least an hour while we moved on to finish sanding out table tops and learn about finishing!
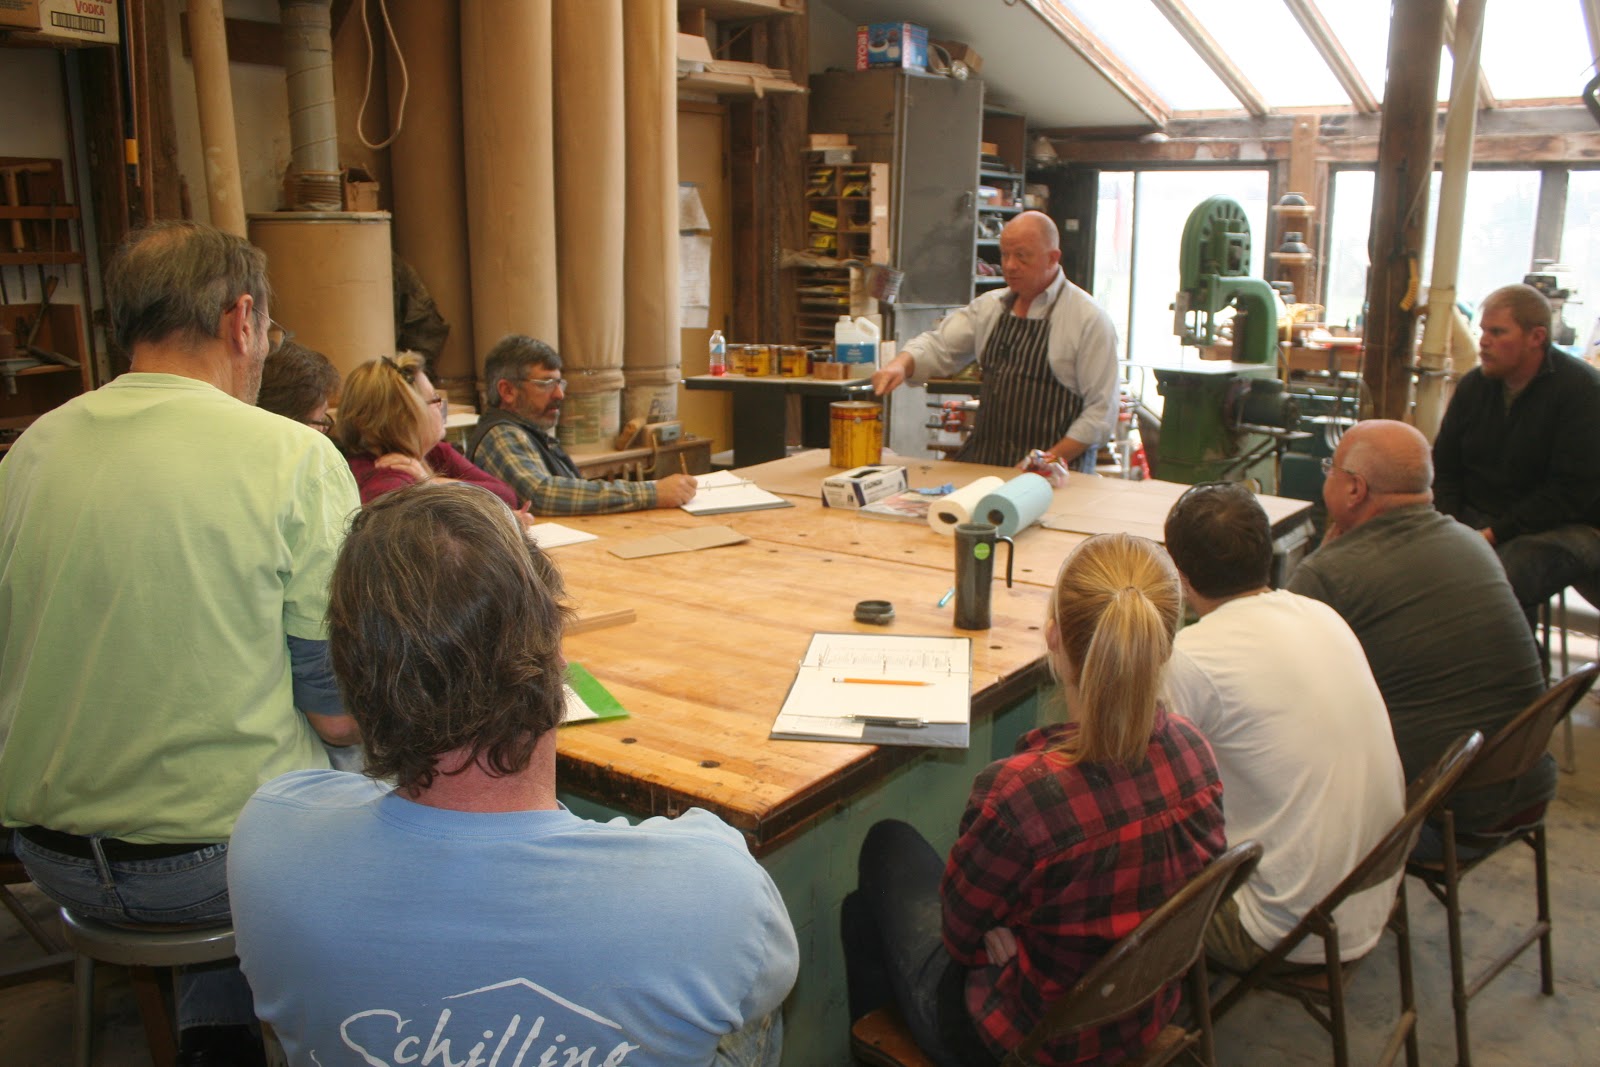
 I have big plans for a coat of boiled linseed oil and a few of varnish to finish up my table. This photo gives you an idea of where my table stands at the moment. For the most part, everyone in the class left with their tables in the same state. I have the assembly done and because the blocks that hold the table top in place are so easy to remove and put back on, I will take it apart to tackle the linseed oil and varnish stages. The table is sanded and ready to take it's coat of boiled linseed oil at the first chance I get. We know it's square because we measured for squareness while it was clamped so we could make any adjustments necessary while the glue was still malleable. I will be sure to post pictures of it's progress through the finishing process. I hope my classmates send us photos of their completed tables at home so I can share some success stories with readers! I can already envision what a perfect home mine will make for my record player in the living room of my small Philly apartment. It will be a slight contrast to the cheap, black, particle board furniture that fills the rest of the room.
 I want to take the time to thank the wonderful teachers at the Lohr School of Woodworking for spending six days trying to give all the information you have about the beginning stages of woodworking to us. I also want to thank my classmates for being such great people and providing such a positive and communal learning environment. I hope to see some of them come back for the advanced classes so we can continue building woodworking knowledge from Jeff, Rob, Eoin, and Suzanne. Beginning a new craft is challenging but the outcome is so stunning and fills you with so much pride, I can honestly say I would recommend the course to anyone with any interest in woodworking. Tomorrow, I step out of my student suit and back into my apprentice suit but I look forward to all the Practical Woodworking courses to come with this new year! And, a final congrats to my fellow December 2012 Practical Woodworking graduates (and the chickens, too)!
No comments:
Post a Comment