Friday, May 31, 2013

Powderpost Beetles

This week we hosted an epic battle at the shop: Lohr Woodworking Staff vs. Powderpost Beetles

It all began when Rob found some powder piles amongst the oak boards we have in the stacks in the shop. He found a tiny dead bug and sent me on a fact-finding mission to confirm the type of wood-boring insect we were dealing with. Essentially, the powderpost beetle larvae feed on wood (primarily sapwood) and reduce it to a fine powder, hence their appropriate name. The biggest issue with this is that if we have live beetles in the stacks, they'll spread and damage the hundreds of boards that reside here. Needless to say, the beetles needed to go.
First, all boards that had any beetle holes or powder cones and piles needed to be removed, so we pulled out all the boards in that section of the stack and sorted them. The powder covered or eaten boards were taken outside and the rest were stacked outside the racks.

We located the highest shelf that showed reminisce of beetle feasting and pulled all the boards on that shelf and those below it. As you can see, there were more than a few boards that needed to be pulled.
The next part of this adventure required me to conquer a long-standing fear of spiders. Once the boards were out, my services were required to crawl into the stacks and vacuum anywhere and everywhere around the effected racks.

As I remained very aware of every spider web and every shadowed crevasse that had gathered over the years, the shop vac and I took to the inner depths of the lumber racks. I was careful to vacuum each beam as well as the boards along the sides of the emptied rack.

Now, what to do with the eaten and potentially infested boards? Well, they need to be de-infested so we can see what is left of useable wood. So, we brought the boards down to the kiln. As we stacked the boards on the cart, they were sprayed with insecticide. Using Timbor, we used the spray mixture to hit all the edges and faces of each board before stacking on the next layer of boards.
When all the boards were sprayed, we covered them in plastic for the night to make sure the solution was absorbed as much as possible. The following morning, we removed the plastic and replaced it with a black carpet and slid the cart into the kiln. At a toasty 145 degrees (as of yesterday), the kiln will house the boards for a few days to ensure that any and all larvae and adult beetles are exterminated before we bring the boards back into the shop.


According to my research, powderpost beetles lay their eggs in or on sapwood and they eat their way through the wood as they grow and develop. The larvae look like the little guy above. The holes we see in the wood's surface "are exit holes where adult beetles have chewed out of the wood after completing their development," says the University of Kentucky. The adults emerge from the wood 1-5 years after their eggs have been laid, usually during April - July. Perfect timing, guys, you seem to be right on time. You can see what the adults and their emergence holes look like above, as well. As I said, they prefer to dine on sapwood and they can infest wood for generations as they continue to lay eggs and leach away all the nutrients and strength from the wood. It's incredible the amount of damage these tiny little insects can do.

As the boards cook in the kiln, we are hopeful that our strategies have won us the battle. Have you ever come across powderpost beetles in your home, furniture, or lumber? Did you have a different approach to eliminate the harmful bugs? We'd love to hear from readers about your experiences since it's an issue, as woodworkers/wood lovers, we're all bound to all share!

Thursday, May 23, 2013

How to finish finishing

Today, we finished finishing the live edge walnut slabs that will be the Zelli Bar top.


Prior to Today-

We sprayed a Waterlox tung oil finish onto the slabs; three times in total. In between each spray, we lightly sanded the surfaces; after the first coat with 220 grit and second coat with 320 grit. Post-sanding, we rubbed the surfaces with steel wool to catch the bits of finish in the smaller grain texture.

Today-

Step 1: With the random orbit sander, Rob lightly sanded thesurfaces with 400 grit sandpaper. He was careful of the edges/corners as to not to wear through the finish and have to respray it again. We didn't sand the live edges in this case because of the uneven surface.


Step 2: Next, he broke out the steel wool and mineral oil. He wiped down the freshly sanded surface with the steel wool and mineral oil, trying to make sure to apply enough even, firm pressure (again, as to not break through the layer of finish).

Step 3: Because the mineral oil can be deceiving as far as masking any still-shiny-from-the-finish areas, he wiped down the surface with a soap and water dampened shop towel. After wiping away the soapy water, it is easy to see where any substantial shiny areas remain so he could go back with the steel wool and mineral oil.

Step 4: At this point, the only shiny spots that were left were in the tiniest of crevasses in the grain. Solution? Rottenstone. We have a pre-mixed combination of rottenstone powder and mineral oil in a sealed jar that some soft bits of rag sit in. Using those rottenstone soaked rags, Rob wiped down the surface again making sure to rub the rag with the direction of the grain. We make sure that the rags never have a chance to pick up any dust or rough particles because that would mean making scratches on our nearly completely smooth surface.

Step 5: After the rottenstone is rubbed onto the surfaces, I buffed out what bit of the powder remained and tackled the final stage- Murphy's Oil Soap. Using dampened shop towels, I washed down the surfaces with Murphy's Oil Soap to remove any remaining substances. Then, the surfaces were inspected carefully looking for any shiny bits that might remain. If any were found, they were buffed out with rottenstone and then washed down again with Murphy's.

And, we're done with the top! The walnut slabs are now coated with a clear and protective finish and smoothed to perfection. This bar top is ready for drink-slinging!

Wednesday, May 22, 2013

Things an apprentice must learn to do

Amongst learning the trade from the ground floor, a woodworking apprentice such as myself also needs to help maintain a functioning business and school. In order for such things to be maintained, inventory and supply orders are a regular occurrence.

Last week was my first inventory and order assignment and sandpaper was my assignment category. I sat myself in front of the sanding cabinet and counted the sanding discs (for the random orbit sanders as well as the disc sander), the sheets, and the belts.

As I have written before, we have a standard habit of sanding pieces with 80 grit followed by 120, 180, and ending on 220. Naturally, this isn't always the case but, since it is the norm, we need to have an abundance of the aforementioned grits as well as a comfortable supply of various higher and lower
grits for special jobs.

I moved along to the Klingspor's Woodworking Shop catalog and got very familiar with sandpaper types, grits, shapes, and item numbers. Then added a thousand biscuits (it blew my mind for a moment to think about the fact that we will easy use 1,000 biscuits) to the order and called it in.

The order arrived this week and contained all the correct items. ::sigh of relief:: The apprentice didn't screw it up! So, now we have a fully stocked sandpaper collection to brave the coming months and I have successfully survived my first inventory/order mission.

That is all I have to share for today because this 88-degree weather is slowing my brain function. Happy Wednesday!

Tuesday, May 21, 2013

It's hot outside, let's make a bar!

Here is another update on the progress of the Zelli Bar because, let's be honest, on a humid, hot day like today, wouldn't you prefer to think about the means to make a frosty, cold drink?

The bar has seen it's first brush with glue (pun absolutely intended)! We all know that things get serious when there is glue involved. The inner shelving and sides of the bar has been glued into their fitted homes in the form of previously planned and sawed plow cuts. And that means a huge step forward has been made.


When the carcass of the inner/under bar area was dried into place, we attached the framework that Rob built to fit across the edges of that carcass. We attached the framework using biscuits. We had previously cut biscuit holes along the edges of the carcass and along the inside faces of the framework. With a three-man (and woman) team, we got glue in all the holes and along all the edges and went clamp crazy. In order for this framework to dry flush against all the edges of the plywood, we needed a variety and surplus of clamps.

The best part of this clamping adventure was the fact that I took the liberty of naming these clamps "horseshoe clamps" when no one could provide a name for these clamps I had never seen before. Upon further research, I am able to tell you definitively that they are actually "edge clamps" and horseshoe clamps are a very different situation; I have added another word to my internal woodworking dictionary. I will admit, however, that I will likely continue to refer to them as horseshoe clamps because it reminds me of that moment of pride when I thought I had nicknamed my first woodworking tool. Regardless, we needed the edge clamps to hold the inner rail frames against their edges so these little guys came in handy.

Eventually, the glue dried and we could dismantle a slue of clamps, wedges, and cauls to put together the pieces to take a gander at this beauty! It's the moments when the glue dries and you can semi-assemble a piece that you sigh in relief that it's actually beginning to look like the thing in your plans (and mind). Needless to say, the bar is beginning to look like a bar and the sigh of relief has come and passed as we continue to work diligently towards it's completion.
Meanwhile, in the back of the shop, the live edge walnut bar top pieces have been coated in finish and are moving quickly toward their completion as well. The boiled linseed oil and waterlox gym finish combination has yet to be anything less than impressive.

As I write, Rob and Jeff are hard at work on the inner workings and details of the base of the bar. Jeff is re-sawing live edge walnut pieces to add detail, contrast, and figure along the faces of the bar's base. Rob is making the finer, handy details of the shelving like towel rods and doors under the sink. I am waiting for my adjustable shelves glue up to dry so I can cut them to size and add them to the mix.

Zelli Bar, you 'll be on your way to your home soon enough!

Wednesday, May 15, 2013

Moves on the Zelli Bar

Since my last Zelli Bar update, we have prepped and held a couple of courses in the shop so, I understand if you were under the impression that work on the bar had slowed or, worse, halted. No need to fear though, progress has continued on the finest beverage making, pouring, and serving surface structure around these parts.

After days of detailed work to perfect the live edge walnut top of the bar, the three parts that compose it were cut to size, fit together, and sanded. The last photos I showed of the masterpiece that is this bar top looked something like the one to the left. The difference though is that this bar top is ready to be finished! The three parts are detached and laid out to be sprayed down with a Waterlox tung oil finish (Gym Finish/gloss).


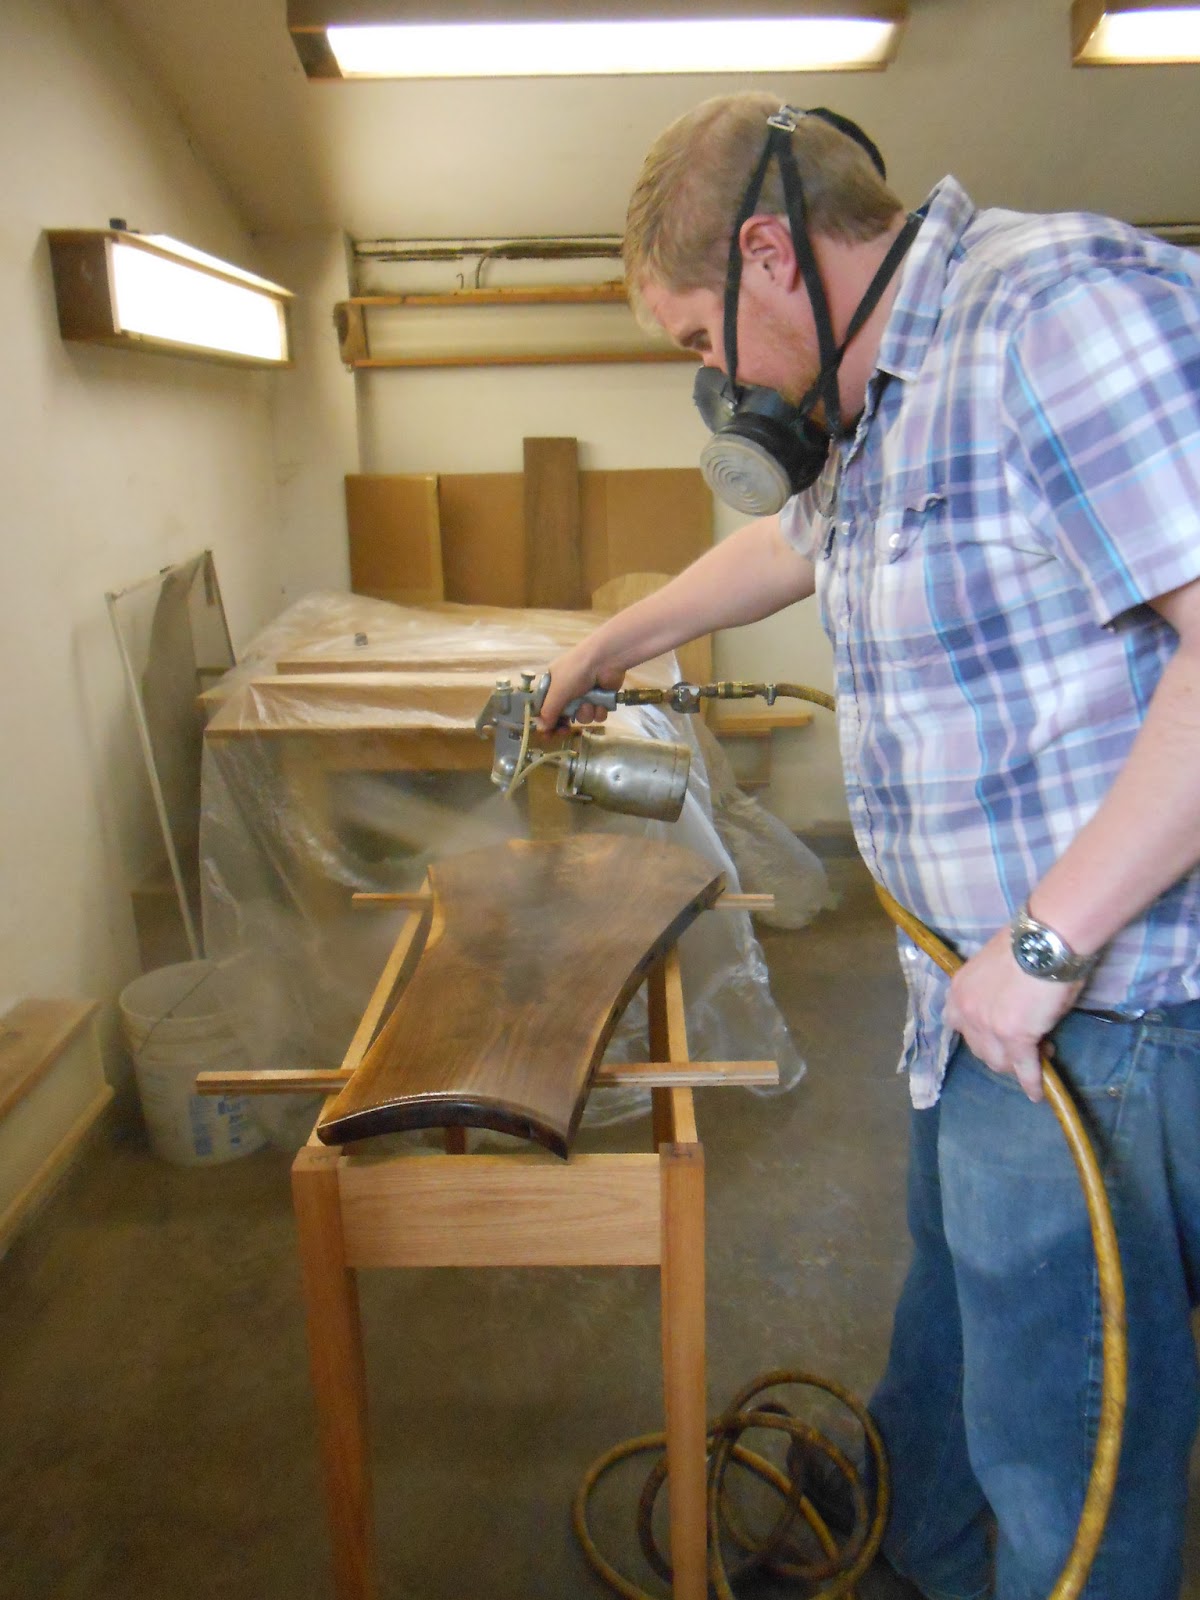
As we did with the brown oak wall installation, we used the pressure gun to evenly and cleanly spray the finish onto each piece; and, by "we" I mean Rob in this instance.

The gun sprays an evenly pressed fan of the finish onto the flat surfaces nicely. Beyond that, the gun allows for the finish to be applied to every nook, cranny, and crevasse. Because the piece is live edge, the natural form of the slab has been virtually unchanged so there are small curves, knots, and voids that we need to make sure get covered in finish.

As of this moment, the top has received two coats of the Waterlox finish. In between the coats, I took to the surfaces with 220 grit sandpaper and then some steel wool. This smooths and evens out the layer of finish before the next coat. From what I hear via the grapevine, there will be three coats total for this top portion(s) of the bar.

Keeping in mind that the walnut slabs were coated in boiled linseed oil two weeks ago, the oil has had ample time to dry completed. The combination of the oil and the finish have really made the colors of the walnut jump right out. The array of natural colors and interesting grain patterns are enhanced so perfectly without being tainted with any stain or tint.

Even with the reflection of light from the finish in the photo to the right, you can still see how the once dull-ish, flat browns found in rough walnut are completely brought to life.

Beyond oiling and finishing the walnut top, work has been forging forward on the base of the L-shaped bar. Cherry veneered sheets are being used for the skeleton of the base and will be accented with resawn live edge walnut pieces across the outward facing faces.

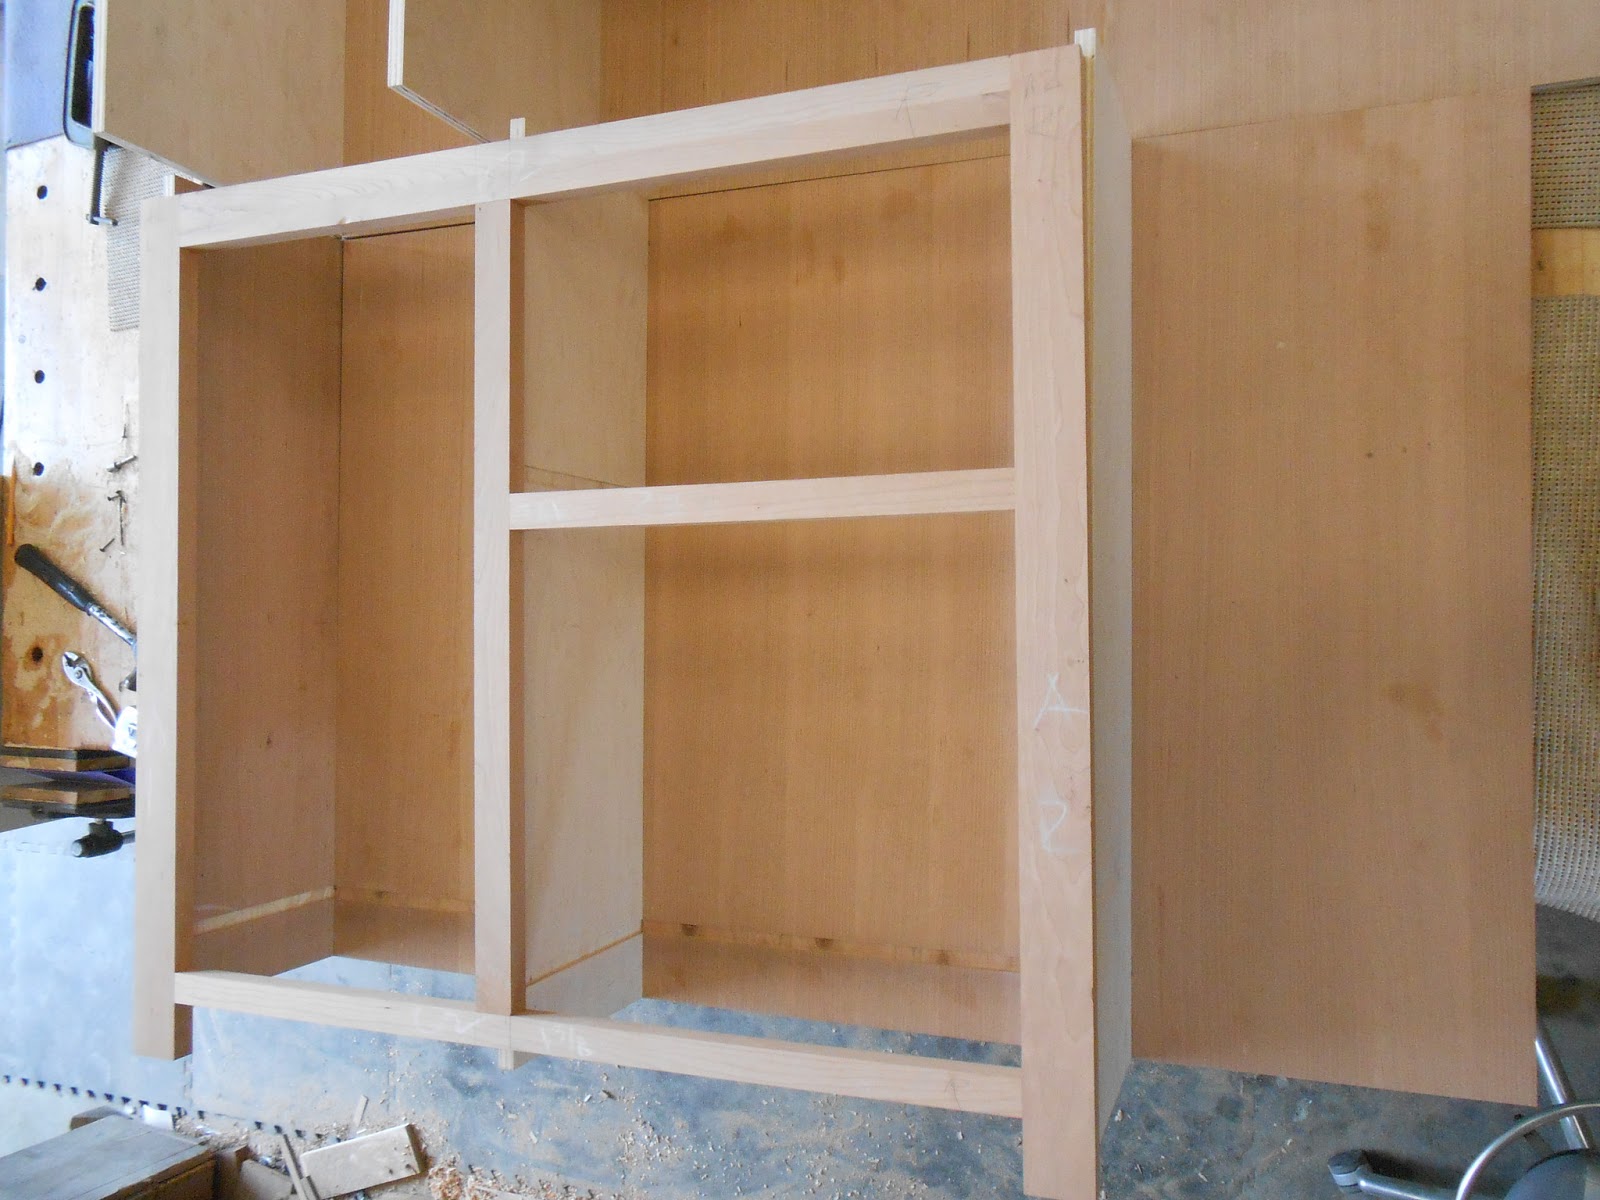
Included in the inner workings of the bar will be a sink, space for a beer/keg cooler, space for a trashcan, and shelving for glasses and mugs. As you can see, the carcass of the base has been constructed over the past couple of days.
Today, focuses have extended into making the framing for the aforementioned spaces inside the bar. Solid cherry was used for the rails and held together by mortise and tenon joints. To the left you'll see the framing of the left-hand side portion of the inner/under bar. At the bottom, we have left space for a toe kick (another new woodworking term to add to my internal dictionary)!

Things are coming together and I am more than eager to see the finished product. There is much work to be done yet but, this project is especially fascinating for me to watch and assist with because of it's (necessary) thorough planning and intricate design/construction. I look forward to the coming days/weeks as I get the chance to watch this massively beautiful piece come together bit by bit.

Tuesday, May 14, 2013

Advanced Joinery

Another week has come and gone at the Lohr School of Woodworking and another graduating class has earned new tables and certificates!

Last week was one of the two advanced course sessions that we offer at the shop each year. The advanced course is amazing in more ways than one and is open to Practical Woodworking alumni. This course definitely takes things up a notch or five.

Quickly, the stacks of milled walnut and cherry pieces that Rob and I worked on two weeks ago morphed into a room of stunning accessory tables complete with dovetails, breadboard ends, floating shelf, and drawer.

As I did the Practical Wood class, I doubled as a student and apprentice for this course. While being on call to lend a helping hand in any way I could, I also got the chance to watch all the lessons, learn all the new techniques, and construct a table of my own!


The course is filled with lots of hand detail, new machinery (as compared to the Practical Woodworking course), and, of course, jigs!

Jeff, Rob, and Eoin conduct the usual riveting and informative demos each day so that students can see the processes carried out correctly and safely before they try their own hand at it. The demos include (but are surely not limited to) handmade dovetails, machine-made dovetails, how to make and use buttons, Greene & Greene style breadboard ends, cloud lift making, drawer construction, and shelf construction. Naturally, we used the knowledge acquired from the Practical Woodworking course to create mortise/tenon joints, biscuit joints, sand properly, assemble and glue up, rip, joint, and plane.

I could really appreciate this class because although it was an ongoing challenge for six days, it was incredibly rewarding to see the progress unfold before your eyes. The finer details that make Lohr and Spiece furniture so unique and beautiful are taught to you by the masters themselves. Because so much of this course is hand detail and another dose of days worth of new information, I'd say it's quite a bonding course. It's easy to sit and chat/encourage/share with your classmates as you sit and perfect your buttons so the environment is calm and inviting.

At the close of the course, there is a short finishing demo. I was fortunate enough to be able to use my table as the means to exhibit how boiled linseed oil makes natural grain colors and patterns pop instantly. I was the fortunate one merely because I didn't have to toss my table into a car and drive it back to a distant part of the area/state/country. Regardless, working at this shop, I have seen my fair share of grain pop from boiled linseed oil but there is nothing quite as satisfying as watching cherry grain jump out of your carefully-crafted breadboard end table top.

I hope that my fellow May 2013 Advanced Joinery graduates will send along some photos of their oiled/finished tables so I can share them. Moreso, I hope they find the satisfaction and gratitude I did in the final stages of the project's completion.

The end result of the course looks like this (pictured above). The carcass of the table is made of walnut. Buried in it's inner workings you would find two hand-cut dovetails, several fitted mortise/tenon joints, drawer runners and spacers, and skirt boards with a cloud lift detail. The floating shelf, table top, and drawer face are made of cherry. The tabletop was constructed using the Greene & Greene style breadboard ends and button detail along the outer edges. The drawer is joined with router-cut dovetails as a result of a thorough lesson on how to adjust and properly use a (often incredibly infuriating) dovetail jig. We finished up with making walnut drawer pulls and buttons.

With my parting words for today, I want to thank the Advanced Joinery class of May 2013 for being positive, eager, and helpful. I will also thank my ever-impressive colleagues for being such wonderful instructors dealing with our varying paces and learning styles.

I am more than pleased to have stepped into a deeper level of woodworking knowledge. I am thankful to be constantly surrounded by masters, teachers, students, and creative, driven minds.

Look out for a Zelli Bar post in the next day or two; the progress continues on the classiest drink-slinging apparatus you'll set your eyes on!

Wednesday, May 1, 2013

Current Shop Happenings

Because I know that all of you often wonder what is happening at the Lohr Woodworking shop on any given day and, lucky for you, I am here to appease that wonder.

All this week we have been juggling three projects. The first of those projects is the on-going preparation for the advanced class that will fill our shop next week. The pile of milled, cut, and ready parts for the tables is growing by the day. Let me tell you, if the jointer, planer, and I weren't friends before last week, we wouldn't have much of a choice by now. We have legs, table tops, shelves, the makings for breadboard ends, drawer parts, and much more neatly stacked and sorted awaiting the eager students that will be awarded them starting on Monday.
The second project in progress is the Zelli Bar. You thought I had forgotten to keep you up to date on the Zelli Bar, didn't you? No fear, we are still moving forward on the creation of this stunning live edge bar.

The three parts that come together to form the L-shaped bar top have been fitted together and today, Jeff took to it with the belt sander to level the surface. After the sanding, we were able to see where there were holes and knots in the wood that hadn't been 100% repaired with epoxy yet. Naturally, the next step was to stir up some epoxy and mix some walnut bark and sawdust into the adhesive. As I have mentioned, the only repairs we make are those that are necessary. Beyond that, repairs are done keeping the material as similar and true to how nature created it as possible.

Another bit of progress that has been made on the bar is the joinery that will keep the bar top together. The handmade splines will slip into their router-cut slots. The slots were cut to be longer then the splines themselves so that they have room to expand and contract with the weather and levels of humidity. In this case, the splines behave a lot like biscuits in that they will keep the pieces aligned but, the splines add more and necessary strength. Materials have been purchased (and some even cut!) to start in on the base of the bar. Keep reading and keep an eye out for another Zelli Bar post soon!
The third project underway are hand mirrors. I had drawn and cut out the shapes of the mirrors on the bandsaw weeks ago but, until this week, they sat on a shelf awaiting out attention again. I spent an entire work day filing, planing, and sanding the four mirrors I had started.

After cutting out the design and taking to the edges with a rasp in order to shape and round the mirrors, I sanded them with 80 grit paper and then used the Sand-O-Flex to get rid of any scratches. That machine is ideal for smoothing out rounded edges and more tricky corners/crevasses. Then, I finished each mirror off with the 220 grit sand paper and covered them with boiled linseed oil.

Here, Rob is spraying the mirrors with lacquer as the finish. It shouldn't be much longer and a few finishing touches before we have four completed walnut hand mirrors!

I hope you enjoyed a little preview into the happenings at Lohr Woodworking today. Stay tuned for Zelli Bar and Advanced Joinery updates next week!